Thursday, April 22, 2010

Lessons in dog training: Shake it like a Polaroid picture

When we got Miyagi, we first focused on building him a great foundation. The idea with training is when a dog masters something, you can often use that skill to help him master something else. A good training foundation includes not only "sit" and "stay," but also "down" and "leave it." With these basic commands you can gain control over your dog. For example, telling a barking dog to lie down will often snap him out of his new obsession and often get him to stop barking. "Leave it" is a super important tool if your dog is anything like Miyagi and likes to grab pretty much anything he can get his mouth on.
Now that Miyagi has relatively mastered these basic concepts, he's ready to move to more fun, creative tricks. Like shaking. This was no easy task since there's no natural inclination to lift a paw in dogs, but LOTS of repetition eventually led to this:


It definitely fills me with pride and excitement to see Miyagi mastering such concepts. It's also pretty funny. Now that his repertoire is growing, you can almost see on his face how he's trying to remember what he's supposed to do. Then there's the aha moment and he lifts his paw into your outstretched hand. Maybe I can get him to honor his namesake by doing "Wax on, wax off." What do you think?

Wednesday, April 21, 2010

Venison Parmigiana

When I was a kid, I wasn't sure if I liked the idea of venison. I mean, we've all seen Bambi; we all know that venison was essentially Bambi's mother. But there are a lot of things to like about deer meat. High on the list is that it is low in fat. But this also presents a problem to cooks who want to eat healthy, but don't want to spend hours gnawing on a tough chunk of meat. One way around this is to get it as cube steak, which my stepfather does. Cube steak is essentially meat that has been beaten to tenderize it. Seeing as how this is the first step to making Chicken Parmigiana, I didn't think it was much of a leap to go with Venison Parmigiana.
What I like about this recipe is that it is almost designed to cater to tough meat: you first lightly brown the meat to seal in the tenderizing juices, and then you bake it in the oven with pasta sauce to create a yummy and juicy Italian classic. And to paraphrase Homer Simpson from a recent episode, you can "parm" pretty much anything.

Venison Parmigiana with pasta
Adapted from a recipe on AllRecipes.com

3 tablespoons all purpose flour
1/2 teaspoon salt
1/4 teaspoon ground pepper
1/2 tablespoon oregano
2 eggs
2 tablespoons water
1/3 cup bread crumbs or crushed crackers (I used whole wheat crackers)
1/3 cup grated Parmesan
1/2 teaspoon dried basil
1/2 teaspoon oregano
4 (4 ounce) cube steaks (I used venison but you can get beef cube steak at any grocery store)
1 1/2 cups pasta sauce (I used some that we had just made a couple nights ago)
1/2 cup shredded mozzarella
1/2 cup grated Parmesan
  • Preheat the oven to 350 degrees and put a pan with olive oil over medium-high heat.
  • Set up your "parmigianing" station: Mix flour, salt, pepper and oregano in one bowl; whisk eggs and water in another; and mix Parmesan, basil, oregano and bread crumbs or crackers in a third.
  • Dip steaks in the flour, then the egg wash and finally, the Parmesan mixture. Place in pan. Brown on each side, but don't try to cook through.
  • As the steaks are browning, line a pan with tinfoil (for easy clean-up) and spread a thin layer of pasta sauce on the bottom. Place browned steaks on top and cover with more foil. Put the pan in the oven for 10 minutes or until almost cooked through. (This time will change according to the thickness of your meat. Mine was pretty thin.)
  • When the steaks are almost done, cover with more sauce, Parmesan and mozzarella. Put uncovered in the oven for another five minutes, or until the cheese is melted and the sauce is heated through.
  • Serve with pasta and your favorite red wine.
Despite seemingly having many steps, this recipe is actually super quick. The whole thing took me about half an hour or so. Maybe some day I will share the fiance's secret to an amazing pasta sauce (he's been making his own since I met him). But for now, just enjoy these lovely pictures:


Saturday, April 17, 2010

Lessons in dog training: Working for food

I'm a general fan of Jon Katz's basic training philosophy: Research as many dog training methods as you can find information on, then decide for yourself what will work for you and your dog. As he writes in Katz on Dogs, "Each dog and each owner is different. What matters is what works for you and the dog you live with." I mentioned this philosophy in my previous post about my decision to crate train Miyagi. Katz explains that "We need a patched-together training method that understands the dog's nature and our own..."
One thing I've done research on is how feeding can make or break your relationship with your dog. This is actually a pretty huge area that is often intertwined with all areas of training. For example, many say hand feeding is the best way to quickly bond with your dog. An easy way to help a dog learn his or her name is to repeat it while the dog is eating. Even handing out kibble in exchange for good behavior (thus cutting down on overfeeding by cutting out treats) is often encouraged.
For Miyagi, all of these things are working. But one that I was highly skeptical of was the idea of making a dog work for his food. It seemed a little cruel to me, but I was having trouble keeping my high-energy pup entertained. Then I realized I was again putting my human emotions on my dog. Because I thought withholding food until satisfactory work was accomplished seemed cruel, I assumed I was hurting Miyagi by doing just that.
But dogs have always worked for their food, in fact many dogs are happier to solve a puzzle in order to partake of breakfast than to have it plopped in front of them (Miyagi often didn't finish his food because he got bored with it).
Having a dog expend energy mentally can often help him be calmer overall. So with Miyagi, I began feeding him by stuffing some of his kibble into a Kong ball.


The rest I fed to him during training sessions. Because of this, his training has also improved as he became more willing to work for a treat when he hasn't already stuffed himself with breakfast or dinner. Here's a video of Miyagi eating dinner recently.


Of course, Miyagi didn't quite get it at first. But now it takes him less than 2 minutes to pull all of his kibble out. This morning I stuffed the openings with peanut butter to challenge him more. It's been fun to see his mind click and suddenly figure out just what to do.

Wednesday, April 14, 2010

Wednesday wedding inspiration: Yellow

Well my wedding colors so far are ivory and clover (as the bridesmaid dresses are). But these are not randomly chosen colors. Actually they were chosen using the classic calla lily as inspiration. But there is one color left in my inspiration - yellow. Just like in a calla lily, I want yellow to be used sparingly as an accent throughout the decor. So without further ado, here are my ideas for yellow accents:

Bouquet featuring yellow billy balls from Elegance & Simplicity

I see my bouquet being mostly ivory flowers and greenery, but I think these billy balls will add the perfect pop of color.


I've planned on wearing converse for awhile now. Many brides incorporate pops of color with their shoes to add personality. Why not do it with bright yellow chucks?


And since I'm already loving paper lanterns, why not make them a cheery yellow?

Sunday, April 4, 2010

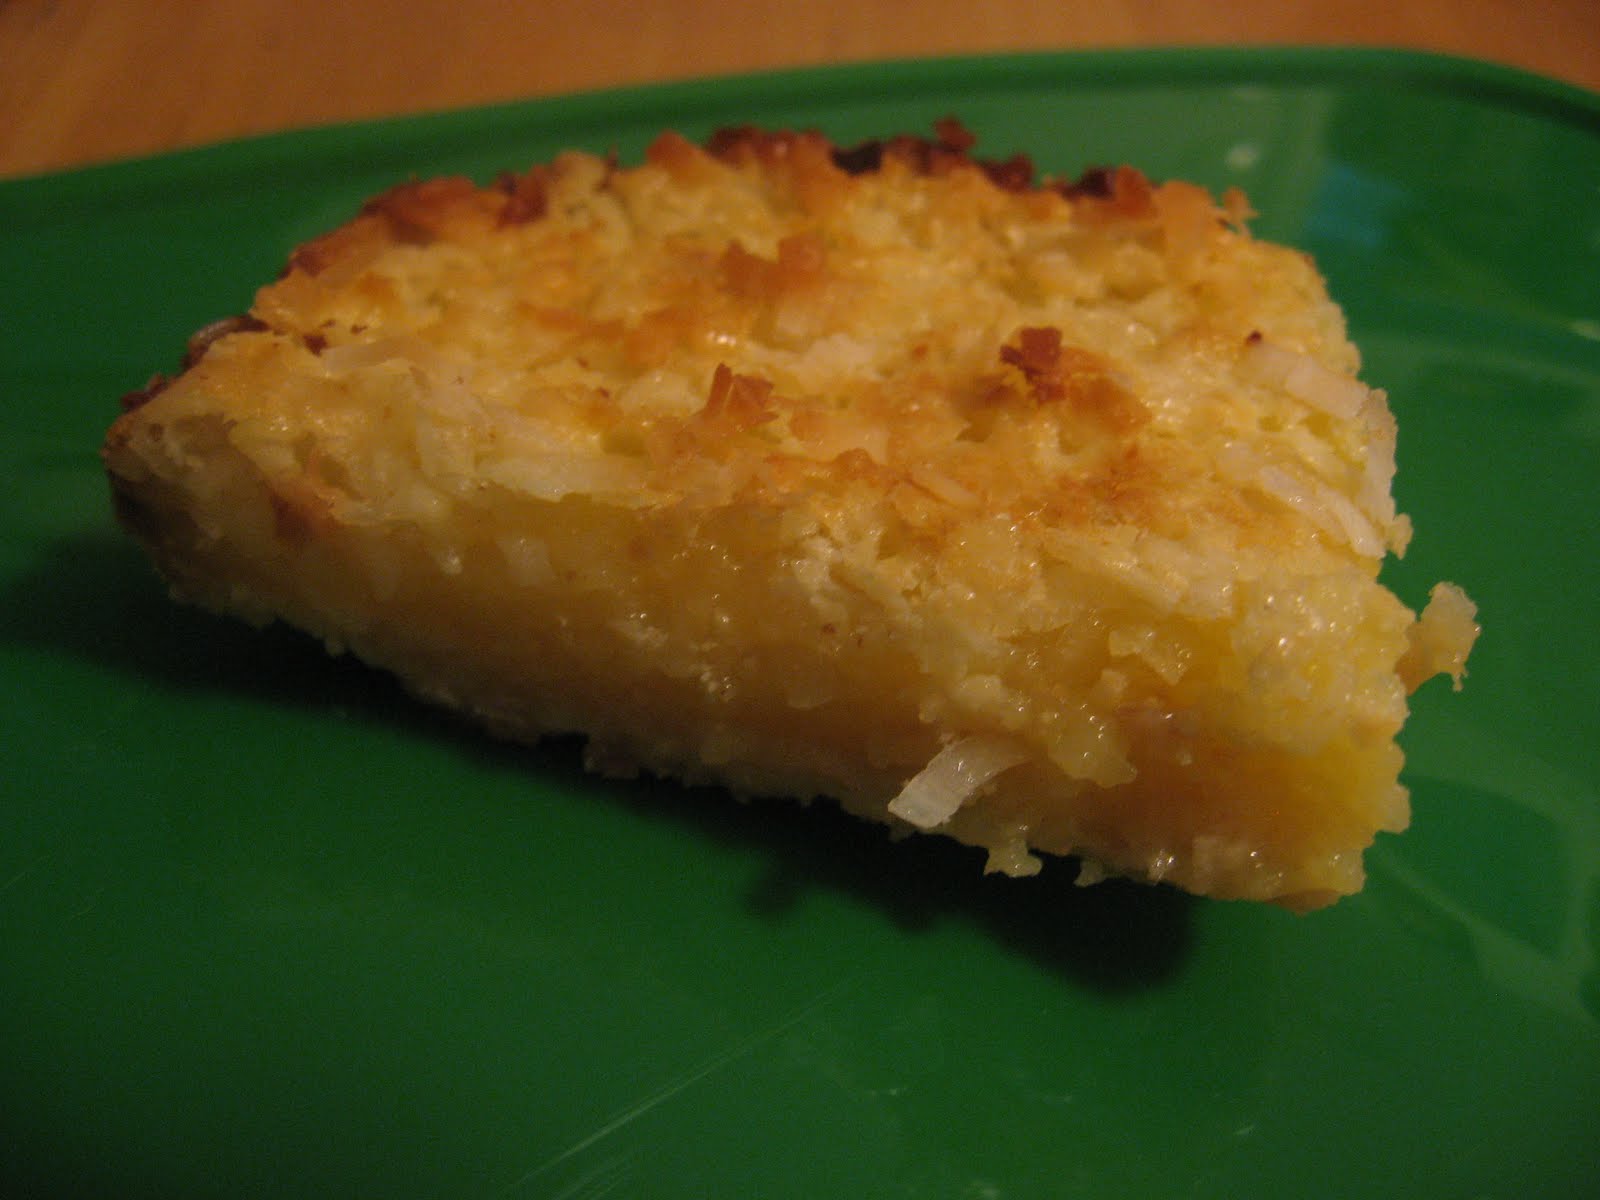
Celebrating spring: Lemon Coconut Bars


I love spring. There's no better feeling than the warm sun on your face and a cool breeze blowing through your hair after months of depressing, gray and cold days. And witnessing trees bud, bloom and turn green always gives me hope for the future.
I would say that by far it is the bright colors that can help make life seem better again. I always thought that a gorgeous bunch of daffodils was one of the most happiest sights in the world. What better way to celebrate the lemony yellow of the flower that signals that Spring has finally arrived than with a lemony dessert?
I've never been a huge fan of lemon bars or tarts. I find most recipes either too sour or too sweet. And then I happened on a recipe from Budget Bytes (this is becoming my favorite place to discover recipes) for lemon coconut bars. It seems Beth (the blog's author) has happened upon the best way to mellow out and balance the sour without overpowering it with sweet. A perfect compliment to the balance of warmth and coolness that is embodied in the ideal Spring day.

Lemon Coconut Bars
Don't forget Beth's helpful breakdown of cost. Her estimate puts the total at an amazing $2.38.

1 1/2 cups all purpose flour
1/2 cup powdered sugar
1/2 cup (1 stick) butter
4 large eggs
1 1/2 cups granulated sugar
1/2 cup lemon juice
1 tsp baking powder
3/4 cup shredded coconut

  1. Preheat your oven to 350 degrees.
  2. In a medium bowl, combine the flower and powdered sugar. Mix until evenly combined.
  3. Let the butter come to room temperature and then just work it into the flour mixture with your hands. Mixture will look like lumpy sand.
  4. Lightly spray a 9x13 inch glass casserole dish with non-stick spray. Pour the flour/butter/sugar mixture evenly into the dish and press it down with your hands until it is compacted. Bake for 15 minutes.
  5. While the crust is baking, combine the eggs, granulated sugar, lemon juice and baking powder in a bowl. Mix it well until the sugar is dissolved. The baking soda will react with the acidic lemon juice and begin to foam, don't worry.
  6. When the crust is finished baking, quickly re-whisk the filling then pour it over the crust. Sprinkle the shredded coconut on top and bake the whole thing for 20 more minutes or until it is golden brown on top. Let cool for 10 minutes before slicing.


The squares were a hit with my future in-laws (it's been way too long since we got to see each other!). And they fit almost perfectly with the strawberry pie that was served as the other half of dessert. It was lovely to scoop up the leftover strawberry filling with the lemony squares.