OK, it may not actually be healthy, but chocolate zucchini cake is a great way to not only use up the tons of zucchini I've been getting from my
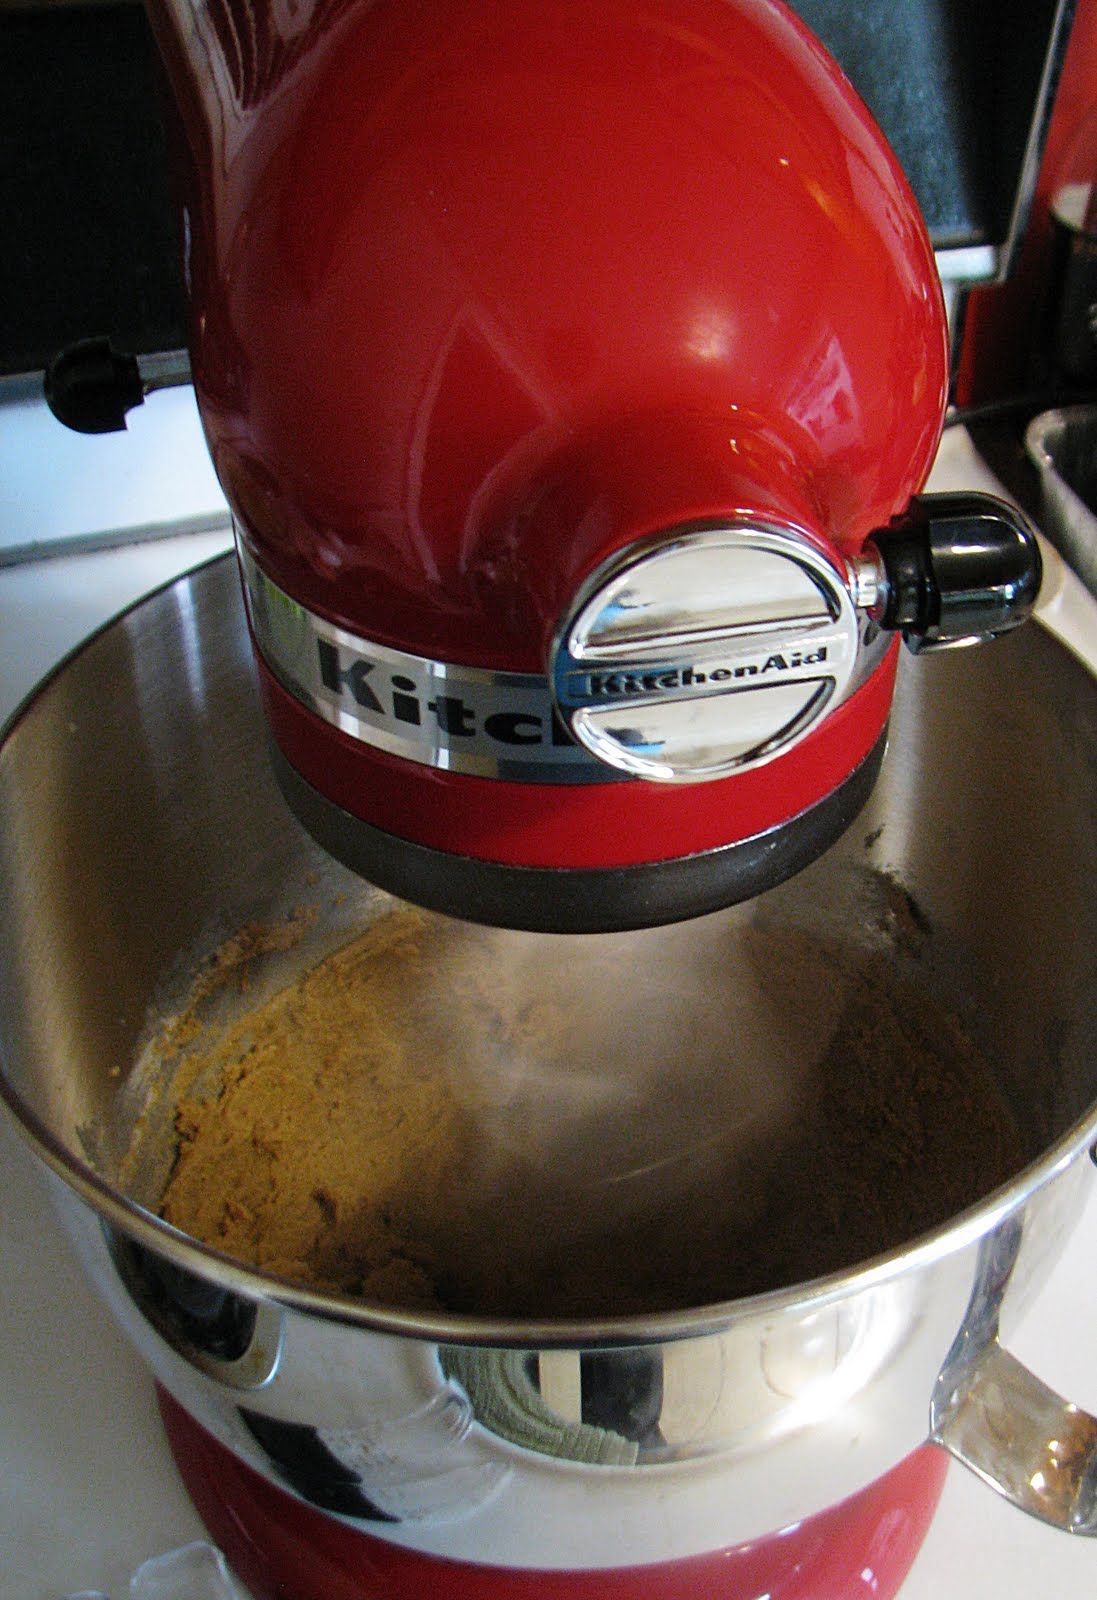
CSA but also to sneak some veggies into an otherwise totally unhealthy cake. And did I mention it's delicious? Plus it was an excellent opportunity to break out my racy red Kitchen Aid:
Isn't she the most beautiful thing you've ever seen?
First up, I should mention that this cake is closer to a brownie in texture than a cake. It's quite dense, and so moist that it never really made it to the light crumbly texture most cakes have. And that's alright with me, and all of my taste-testers (these certified testers include my husband and coworkers). The taste-testers, by the way, ate up all my cake before I could get a picture of just a slice by itself. It looked fairly close to this image, from Chocolate & Zucchini blog, which is where I got my recipe from:
I frosted mine with a thin layer of whipped cream cheese frosting, mostly because I was out of powdered sugar. Here's the star of this post, the recipe:
Chocolate Zucchini Cake
- 2 cups all-purpose flour
- 1/2 cup unsweetened cocoa powder
- 1 teaspoon baking soda
- 1/2 teaspoon baking powder
- 1/2 teaspoon fine sea salt
- 1 cup loose dark brown sugar (as opposed to packed)
- 1/2 cup unsalted butter, at room temperature
- 1 teaspoon pure vanilla extract
- 2 tablespoons strong cooled coffee
- 3 large eggs
- 2 cups unpeeled grated zucchini
- 1 cup chopped chocolate (I used milk chocolate, but I would recommend getting a semisweet bar instead, since the milk chocolate chunks lost almost all flavor in the cooking)
- Confectioner's sugar or frosting (optional)
- Preheat the oven to 180°C (350°F). Grease a 10-inch round springform pan or 8 1/2-inch square pan.
- In a medium mixing bowl, whisk together the flour, cocoa powder, baking soda, baking powder, and salt. In the bowl of a mixer (or by hand in a large mixing bowl), beat the sugar and butter until fluffy. Add the vanilla, coffee, and eggs, mixing well between each addition.
- In a large mixing bowl, combine the zucchini, chocolate chips, and about a third of the flour mixture, making sure the zucchini strands are well coated and not clumping too much.
- Add the rest of the flour mixture into the egg batter, half a cup at a time. Mix until just combined; the batter will be thick.
- Fold the zucchini mixture into the batter, and blend with a spatula without overmixing. Pour (or scoop, mine was super thick) into the prepared cake pan, and level the surface.
- Bake for 40 to 50 minutes, until a knife inserted in the center comes out clean. Transfer onto a rack to cool for 10 minutes, run a knife around the pan to loosen, and unclasp the sides of the pan. Serve slightly warm or at room temperature. Sprinkle with confectioner's sugar, frosting or a chocolate glaze, if desired.
Being a new recipe, I have several things I would do differently. I would likely add about 1 tablespoon cinnamon, 1 teaspoon nutmeg and a 1/2 teaspoon cloves, just to spice things up a bit. I was even thinking some ginger, cayenne pepper or cardamom would all be good ways to kick this recipe up a notch. Finally, I think I'd want to either leave it unfrosted or go with the powdered sugar, maybe even the coconut pecan frosting that normally goes on German chocolate cake. Now for the photos:
That's my cup of coffee. And yes, there's caffeine in this cake, but not very much. And you can't really taste it. It merely adds depth to the chocolate.
This recipe utilizes the classic cake-making steps: Mix dry ingredients in one bowl...
Cream butter and sugar in another bowl...
Add the rest of the wet ingredients to the creamed mixture. Traditionally the flour is added to the creamed mixture in a few parts and then you're done.
But I was adding chocolate chunks (hand-chopped from a Symphony chocolate bar) and zucchini.
So this means that I had to worry the additions would clump together and not distribute properly.
But that's not really a worry if you remember a simple step: Mix your additions with a third of the flour mixture. The floury coating will help the additions evenly distribute in the batter. I'm not an expert on the science, but I know it works.
My Kitchen Aid came with an attachment that helps me funnel the dry ingredients into the bowl without flour going everywhere, which is a big problem with stand mixers. I essentially added the flour in 1/2 cup increments until it was all incorporated.
The recipe calls for a springform pan, but you don't need to use it. I did because I got a set of three for the wedding that I
still hadn't used. They are also much deeper than any of my round cake pans, which meant that my batter would definitely not overflow.
The walls of the springform pan are separated from the base. The black clip essentially tightens the ring around the base, creating a seal that keeps batters from leaking out.
When the batter is cooked, you release the clip and lift of the ring and...
Viola! You have lovely cake with perfect sides that didn't require a lot of effort and finger-crossing to remove from the pan.


No comments:
Post a Comment